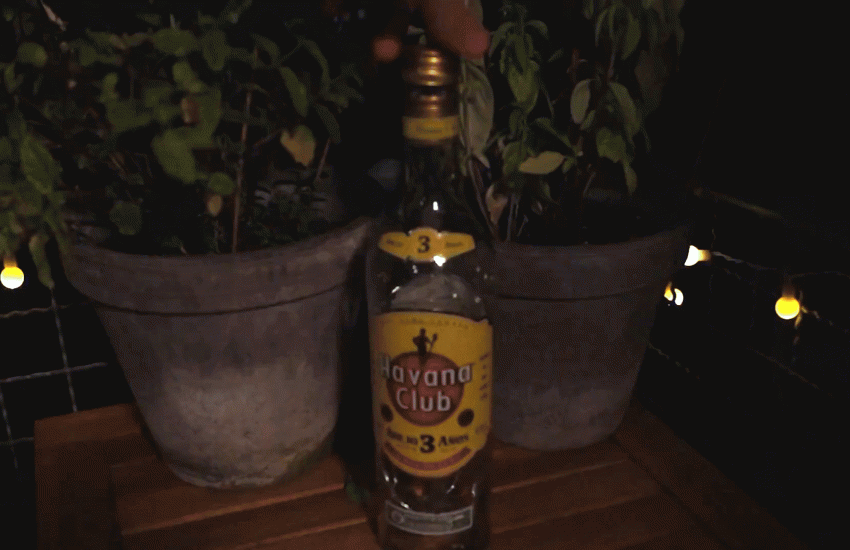
Let me show you how to build a LED string light inside a bottle which has a little twist to it!
You will find the full article with videos and detailed pictures here.
Let’s begin with a parts list:
- One end stop micro switch
- One TP4056 1S Lipo charge and output controller
- One LED series resistor
- One LED string light of your choosing
- One longish 1S LiPo battery with a capacity of about 150 mAh
- One empty bottle

The components will be soldered together according to the circuit diagram below.
The TP4056 is a charge and output controller designed to work with a 1S LiPo battery. It is able to charge the battery through micro USB 5V input and provides battery power until it cuts off at 3.7V battery voltage to protect it from deep discharge.
A microswitch placed flush with the bottle’s top will close the circuit and turn on the LED string wire when the cap is screwed back onto the bottle.
Choosing the right amount of LEDs on the LED string wire as well as choosing the right resistor depends on how bright and long your light is supposed to shine. Usually each LED would get its own series resistor but when using LED string lights, thats not possible since the LEDs are mounted in parallel.
The higher you set your current I_singleLED for one individual LEDm the brighter it will shine.
In order to calculate the required resistance you will have to follow the equations shown above. Don’t forget to multiply your single LED current I_singleLED by the total number of LEDs on your string light!
Take a look at the youtube video for further explanation!
After assembling all the parts and securing the contacts with hot glue it should look like this:
Carefully insert the circuit board into the bottle neck. If it’s a tight fit try sanding down the edges.
Wrap some tape around the circuit board if it’s a loose fit.
Of course you can choose a different style of LED string lights and also get creative with bottle shapes, at least that’s what I did!
http://www.doityourselfgadgets.com


